Step-By-Step-Guide
Step 1: Go to Menu Categories
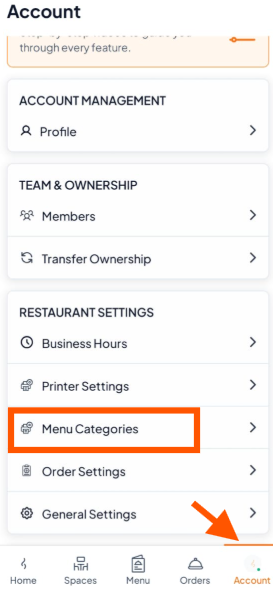
From the bottom navigation bar, tap "Account".
Under Restaurant Settings, select "Menu Categories".
Step 2: Add a New Category
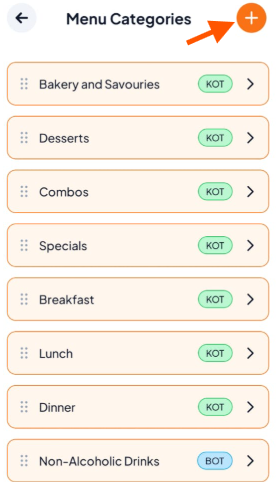
On the Menu Categories screen, tap the (+) button to add a new category.
Adding categories helps you keep your menu organized and makes it easier for staff to locate items.
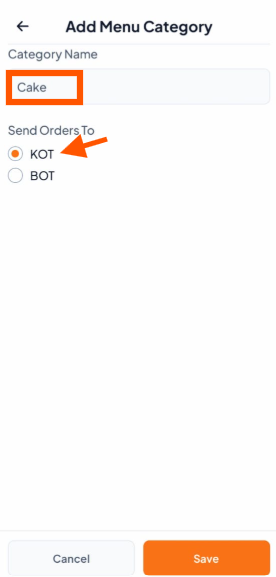
Step 3: Enter Category Details
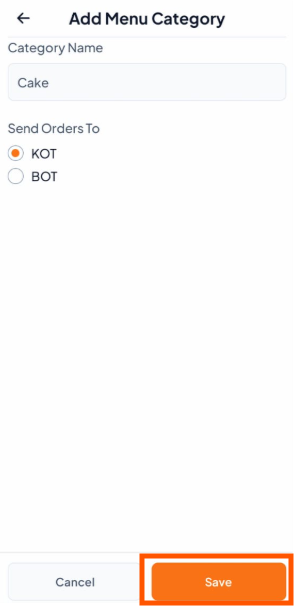
Category Name: Enter a name for the category (e.g., Cake, Drinks).
Send Orders To: Choose where orders for this category should print: (KOT - Kitchen Order Ticket: For food items, BOT - Bar Order Ticket: For drink items.)
(Selecting the correct printer ensures smooth workflow and avoids confusion in the kitchen or bar.)
Step 4: Save Your New Categories
After entering the details, tap Save to create the category.
After saving, your new category will appear in the menu when you add new menu items.